Example of Collector creation
Collector is a type of database (data stream) for which we can configure a process that periodically queries for specific data. The data acquired by the process feeds the Collector database. Collector data can be used in two ways:
- As a simple database with data on which you can work and transform data.
- As a collection of data that can be used as a filter when querying another stream with data.
We will analyze the process of creating a Collector using the example of a Collector that will collect and save TOP 10 Client IPs in Last 15 Minute Timeline.
Implementation
To create a new Collector, go to [Configuration->Objects->Collector] menu and click New collector button.

The wizard for creating a new Collector appears.
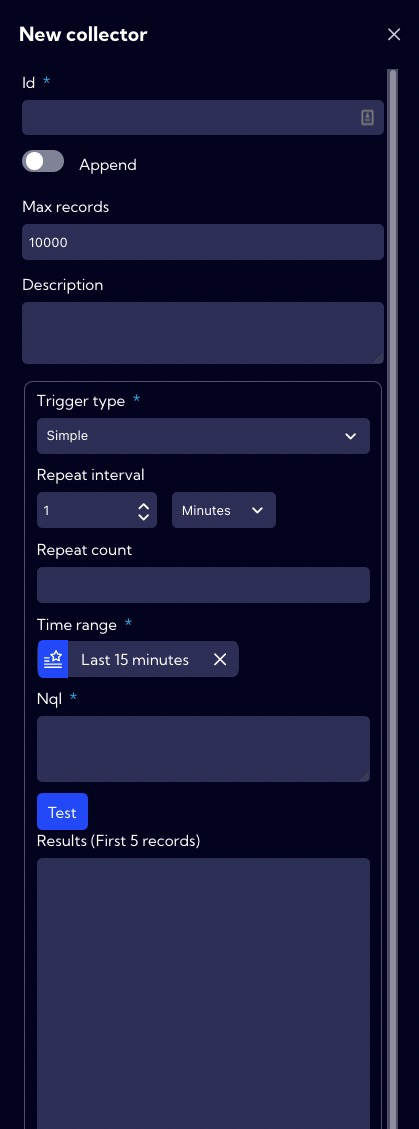
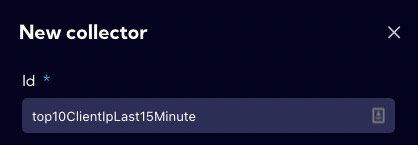
In the Id field, we enter the Collector NQL name.
The collector has two modes of saving data:
- Append switch OFF - Data collected from a query are overwritten (default mode).
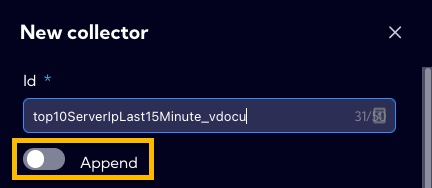
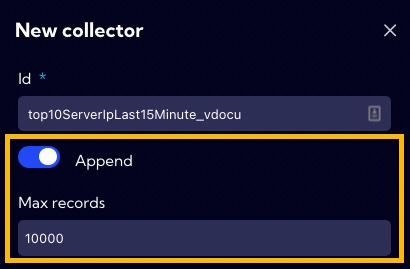
- Append switch ON - Data collected from a query are saved until the limit specified in the Max Records field is exceeded.
- Append switch OFF - Data collected from a query are overwritten (default mode).
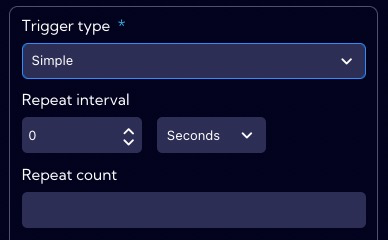
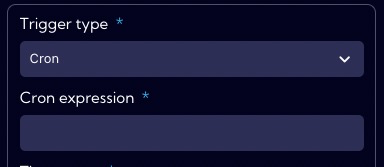
Collector (data query) can be triggered in two ways specified in the Trigger type field:
Simple - launch every interval of time specified in the Repeat interval field. The Repeat count field specifies the number of launches - when it is empty the query will be executed indefinitely.
Crone - launched using job scheduler on Unix-like operating systems.
In the Time range field, set the time range on which Collector will operate.

In the NQL field we enter the syntax of the query - in our case it is:
src stream="netflowByIpAggr" | where direction=0 | aggr clientBytes=sum(clientBytes) by ipAddress unwind=true | sort clientBytes desc | limit 10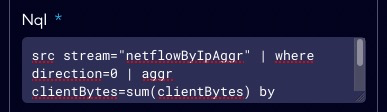
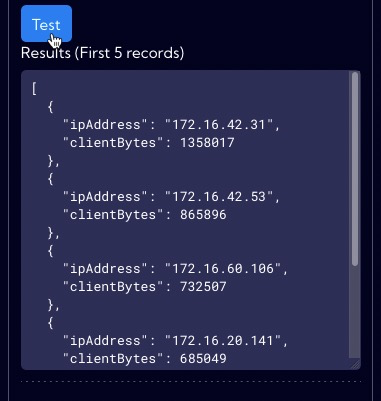
Using the Test button, we can test how our query works - what data will be returned.
If all the necessary fields of the form have been correctly completed press Save button to save the created object.